DE
DE  EN
EN FR
FR

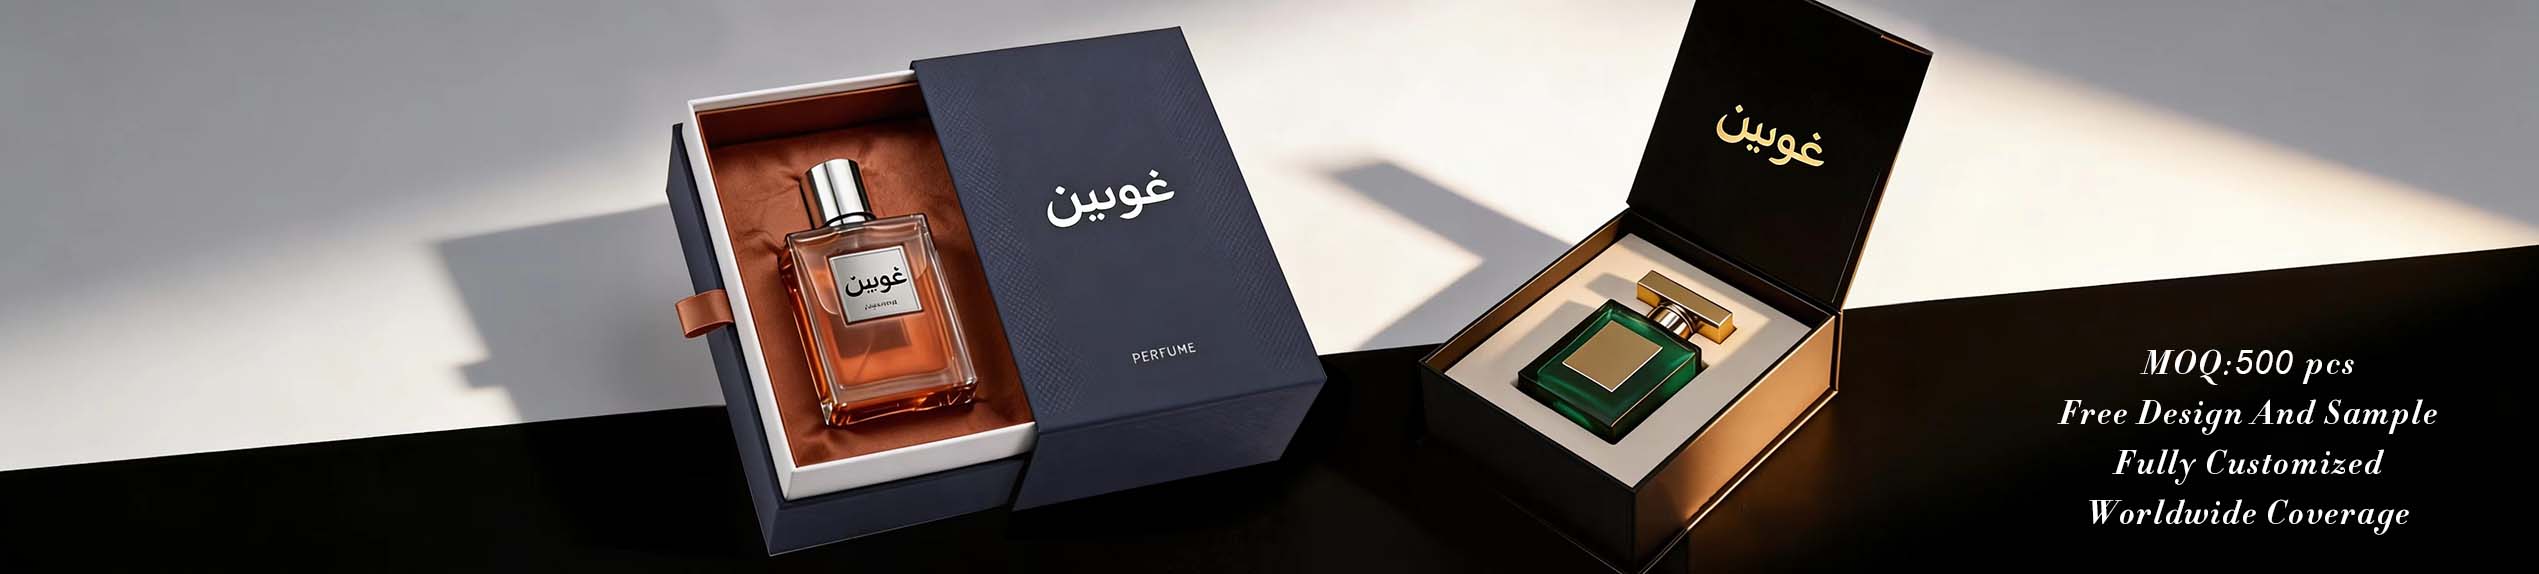
Magnetic Box Manufacturing Process: From Design to Finished Packaging
The magnetic box manufacturing process combines structural engineering, rigid board preparation, paper wrapping, magnetic closure installation, finishing, assembly, and quality inspection. Understanding each production stage helps packaging buyers prepare accurate specifications, reduce avoidable revisions, and evaluate manufacturers more effectively.
Magnetic rigid boxes are more complex to manufacture than standard folding cartons because the finished package combines several structural components. A typical box may include rigid board, printed wrapping paper, a hinged lid, embedded or concealed magnets, decorative finishes, an interior tray, and a custom insert.
The manufacturing sequence is important because errors made during structural development can affect every later stage. A small dimensional problem may influence the lid fit, magnet position, wrapping tension, insert clearance, or final presentation. For this reason, professional production normally begins with detailed specifications and a physical prototype before mass production.
The magnetic box manufacturing process is a sequence of design, material preparation, printing, board cutting, wrapping, magnetic assembly, insert production, finishing, inspection, and packing operations used to create a rigid box with a magnetic closure.
Buyers who understand this workflow can communicate more precise requirements and identify important production questions before placing a large order. The process also provides a useful framework for comparing different packaging suppliers.
Magnetic Box Production Process Step by Step
Although production methods vary according to box structure and supplier capabilities, a typical custom project follows several connected stages.
01. Specification
Dimensions, product weight, opening style, materials, printing, finishing, inserts, magnets, quantity, and shipping requirements are defined.
02. Structural Engineering
The manufacturer develops the structural layout, board construction, folding points, lid geometry, and component relationships.
03. Prototype
A sample is produced to verify dimensions, product fit, closure behavior, appearance, and insert compatibility.
04. Material Preparation
Rigid board, specialty paper, adhesive materials, magnets, and insert materials are prepared according to the approved specification.
05. Printing & Finishing
Printed sheets may receive foil stamping, embossing, debossing, spot UV, lamination, or other decorative treatments.
06. Box Assembly
Cut boards are assembled, wrapped, folded, and combined with magnetic components and interior structures.
07. Insert Production
Custom inserts are produced and fitted according to the product dimensions and presentation requirements.
08. Final Inspection
Finished boxes are checked for dimensions, appearance, closure performance, structural integrity, and packaging condition.
1. Product Specifications and Structural Design
The first production decision is not printing or assembly. It is the structural specification of the package. The manufacturer needs to understand the dimensions and physical characteristics of the product that will be placed inside the box.
Important information can include the product's length, width, height, weight, shape, fragility, surface material, and expected presentation orientation. For products such as perfume bottles, cosmetics, jewelry, electronics, or premium gifts, the insert must also be considered during structural development.
Buyer information to prepare
- Finished product dimensions
- Product weight and quantity per box
- Required box opening style
- Preferred materials and finishes
- Insert requirements
- Target order quantity
- Shipping and packaging requirements
At this stage, buyers should also confirm whether the dimensions provided are product dimensions or finished internal box dimensions. This distinction is particularly important when an insert is required.
2. Rigid Board and Wrapping Material Preparation
Rigid boxes are normally constructed around a board structure that provides the required strength and shape. The board thickness is selected according to the box dimensions, construction, product weight, and desired appearance.
The outer paper is then selected according to the visual requirements of the project. Depending on the packaging design, manufacturers may use coated paper, specialty paper, textured paper, kraft paper, or other suitable wrapping materials.
| Component | Production Consideration | Buyer Concern |
|---|---|---|
| Rigid board | Thickness, flatness, strength | Structural stability |
| Wrapping paper | Print quality, grain, surface | Appearance and durability |
| Magnetic components | Position and holding strength | Closure performance |
| Insert material | Shape, fit, protection | Product security and presentation |
3. Printing and Surface Finishing
After the structural specifications and materials are confirmed, the wrapping material can be printed and finished. This stage has a major influence on the visual appearance of premium packaging.
Common decorative techniques include foil stamping, embossing, debossing, spot UV, matte or gloss lamination, and specialty papers. The correct combination depends on the design, surface material, artwork, budget, and desired visual effect.
Why finishing must be considered early
Finishing is not always an isolated final step. Foil areas, embossed details, printed graphics, and folding locations may affect the structural layout. For example, artwork that crosses a fold or wraps around several panels needs accurate positioning to maintain visual alignment.
4. Board Cutting, Wrapping, and Box Formation
Once the printed materials are ready, rigid board components are cut according to the approved structural design. The individual board pieces are then positioned to form the base, lid, walls, spine, or other structural elements of the box.
Wrapping requires controlled positioning of the printed paper around the board. The paper needs to follow the edges and corners cleanly while maintaining consistent adhesion. Poor alignment at this stage can create visible gaps, wrinkles, lifted edges, or inconsistent corners.
Common production checkpoints
- Board dimensions and cutting accuracy
- Corner alignment
- Paper positioning
- Adhesive coverage
- Edge wrapping
- Surface cleanliness
- Opening and closing movement
5. Magnetic Closure Installation
The magnetic closure is one of the defining features of this packaging structure. Magnets are normally positioned within the lid and corresponding base areas so that they remain concealed when the box is finished.
Magnet placement requires dimensional accuracy. If the two components are not correctly aligned, the lid may not close naturally or the closure may feel inconsistent. The magnetic force also needs to be appropriate for the structure. Excessive force can make opening uncomfortable, while insufficient force may allow the lid to open unintentionally.
For this reason, the closure should be evaluated during sampling and again during production inspection rather than being treated only as a decorative component.
6. Interior Inserts and Product Fit
Many magnetic boxes require an interior insert to hold the product securely and create a controlled presentation. Insert materials may include paperboard, molded structures, foam-based materials, fabric-covered supports, or other materials selected for the product.
The insert should be developed together with the box rather than as an independent component. Its external dimensions affect the available internal space, while its cavities determine how securely the product sits inside the package.
For perfume and cosmetic packaging, the insert may also need to accommodate bottles, jars, accessories, cards, or multiple product components. A physical sample is particularly useful for verifying the actual fit before mass production.
7. Final Assembly and Production Inspection
After the major components have been produced, the box moves through final assembly. This can include joining structural components, installing magnets, fitting inserts, checking the lid movement, and cleaning the finished surfaces.
Production inspection should examine both appearance and function. A visually attractive box can still have practical problems if the lid is misaligned, the magnet is weak, the insert is too tight, or the structure does not support the product correctly.
What should be checked?
- Finished dimensions
- Box squareness and alignment
- Surface appearance
- Printing and finishing consistency
- Magnetic closure function
- Lid movement
- Insert dimensions and product fit
- Visible defects or adhesive residue
- Packaging condition before shipment
Buyers looking for a more detailed inspection framework can review the magnetic box quality control information separately.
Why Sampling Matters Before Mass Production
Sampling is one of the most useful stages in custom packaging manufacturing because it allows the buyer and manufacturer to verify the physical result before committing to a full production run.
A sample can reveal issues that are difficult to identify from artwork or technical drawings alone. These can include incorrect product clearance, unsuitable insert dimensions, unexpected paper texture, poor artwork positioning, insufficient magnetic force, or a lid that does not open as expected.
When changes are required, they should be documented clearly and incorporated into the final production specification. This creates a more reliable reference for the manufacturing team and reduces ambiguity during mass production.
How Buyers Can Prepare for Magnetic Box Production
A clear production brief can make communication with a packaging manufacturer significantly more efficient. Instead of requesting only a price, buyers should provide enough information for the supplier to understand the complete packaging requirement.
- Provide accurate product dimensions and weight.
- Define the finished box size or internal product clearance required.
- Specify the preferred magnetic opening structure.
- Provide artwork in the manufacturer's requested format.
- Identify paper, board, insert, and finishing preferences.
- Confirm the required order quantity and delivery destination.
- Request a physical sample when structure or fit is important.
For a complete custom packaging project, buyers can also review the packaging manufacturing process before preparing an RFQ.
Frequently Asked Questions
How long does magnetic box manufacturing take?
The timeline depends on structural complexity, sampling requirements, materials, finishing, order quantity, and production scheduling. A simple project may move faster than a multi-component box with custom inserts and several finishing processes.
Why is a physical sample useful?
A physical sample allows buyers to check dimensions, product fit, opening behavior, magnetic closure, materials, finishes, and overall presentation before mass production.
Can magnetic boxes include custom inserts?
Yes. Custom inserts can be designed around the product's dimensions and presentation requirements. The insert should be considered during structural development so that the internal clearance is accurate.
What materials are commonly used for rigid magnetic boxes?
Typical constructions use rigid board for the structure and printed or specialty paper for the outer surface. Additional materials may be used for inserts, decorative elements, and magnetic components depending on the project.
What information should be included in a packaging RFQ?
A useful RFQ normally includes box dimensions, product dimensions, quantity, material preferences, opening structure, printing, finishing, insert requirements, shipping destination, and desired delivery schedule.
Planning a Custom Magnetic Box Project?
Share your product dimensions, box requirements, materials, finishing preferences, insert specifications, and expected quantity to start a structured packaging discussion.
Request a Packaging Quote


 NETZWERK UNTERSTÜTZT