DE
DE  EN
EN FR
FR

Tiana
+86-13143789995
10 % Punkterückerstattung bei benutzerdefinierten Druckaufträgen. Jetzt aktivieren
Brauchen Sie Hilfe? Sprechen Sie noch heute mit einem Druckexperten. Händlersuche
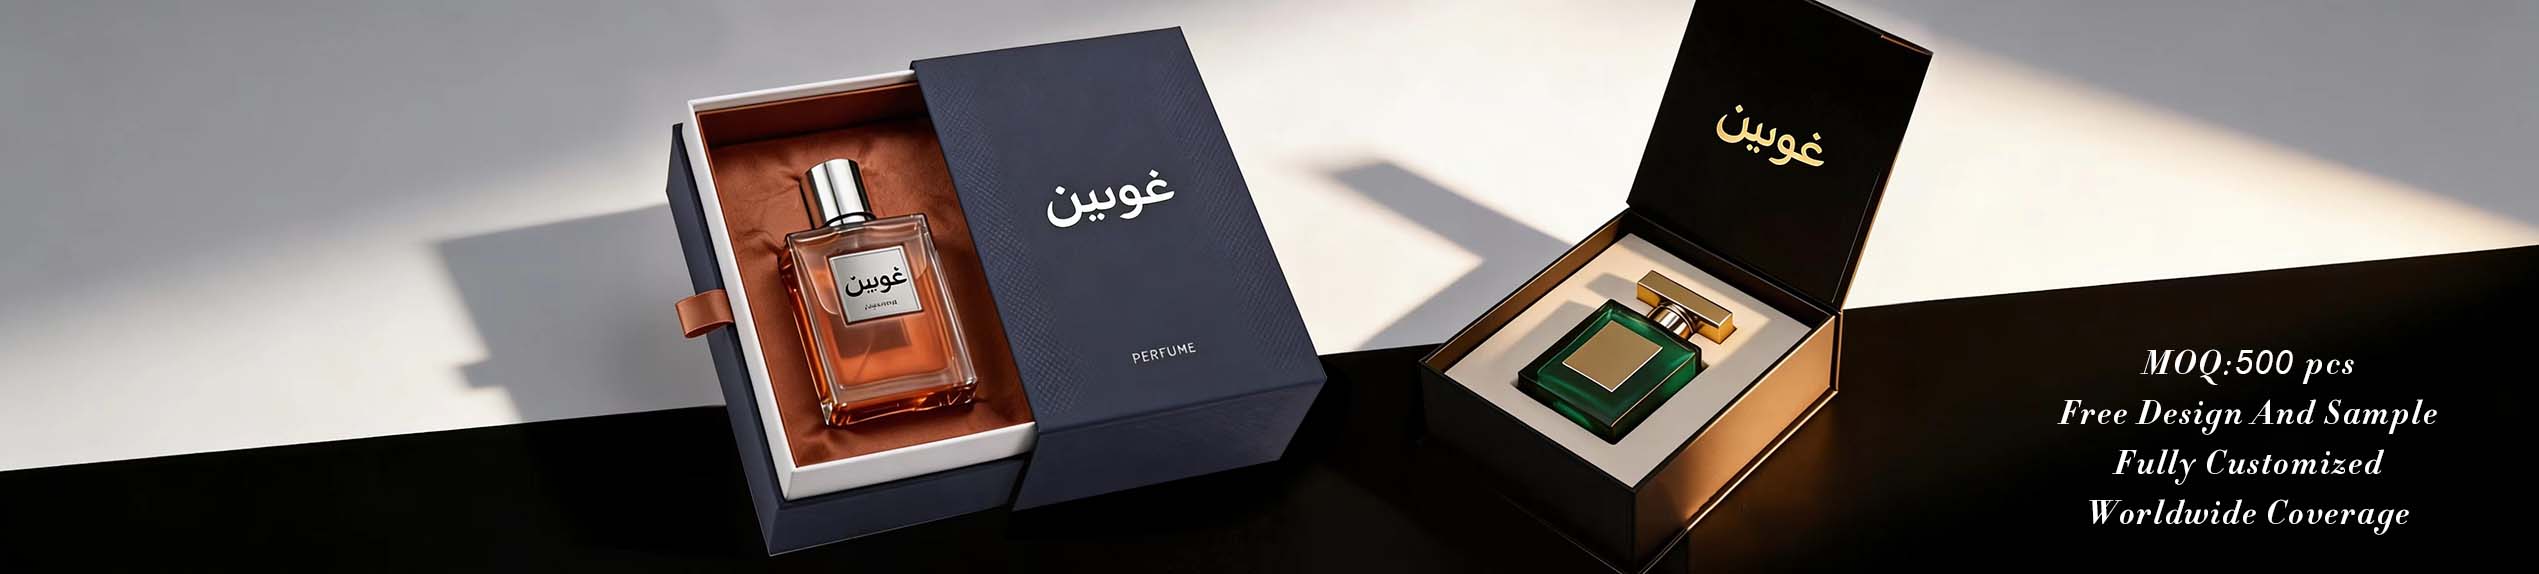
How to Approve a Packaging Prototype Before Mass Production?
A packaging prototype is one of the most important checkpoints before mass production. It gives the buyer an opportunity to evaluate the physical structure, product fit, materials, artwork, printing, finishing and functionality before committing to a large quantity.
However, many packaging problems occur because prototypes are approved too quickly.
A prototype should not be judged only by whether it "looks good." It should be evaluated against a defined checklist and compared with the original product requirements.
This guide explains how to approve a custom packaging prototype before mass production.
Start with the basic construction.
Check whether the prototype matches the agreed design:
Magnetic box
Drawer box
Book-style box
Two-piece rigid box
Folding box
Custom presentation box
Open and close the package several times.
Check whether the movement is smooth and whether the structure behaves as expected.
A packaging prototype is partly a functional test, not only a visual sample.
Do not rely entirely on the manufacturer's stated dimensions.
Measure:
External dimensions
Internal dimensions
Lid dimensions
Insert dimensions
Product cavity
Wall thickness
Compare these measurements with the approved drawings.
Small dimensional differences can affect product fit, assembly and appearance.
For products such as perfume bottles, cosmetics or electronics, internal fit can be particularly important.
Whenever possible, place the actual product inside the prototype.
Check:
Product fit
Movement
Clearance
Insert support
Product protection
Ease of removal
Overall presentation
A packaging design can look perfect in a CAD drawing but behave differently with the physical product.
The product should therefore be tested before mass production.
Confirm that the prototype uses the intended materials.
Check:
Board thickness
Outer paper
Inner paper
Insert material
Ribbon
Magnets
Adhesives
Other components
If the prototype uses substitute materials, clearly identify them.
Do not assume that a substitute material will behave identically during mass production.
Review the artwork carefully.
Check:
Logo position
Text
Images
Color
Registration
Sharpness
Bleed
Alignment
Compare the physical prototype with the approved artwork.
Pay particular attention to small text and logos.
Premium packaging often includes finishing processes that need physical evaluation.
Check:
Foil placement
Embossing
Debossing
Spot UV
Lamination
Coating
Surface texture
Run your fingers across embossed or debossed areas.
Inspect the package under appropriate lighting.
Look for uneven finishing, scratches, bubbles, wrinkles or other visible defects.
For magnetic boxes, perform repeated opening and closing tests.
Check:
Magnetic strength
Alignment
Closure position
Opening force
Noise
Stability
The lid should close consistently.
If the box includes multiple magnets, confirm that all magnets are correctly positioned.
Inserts should be evaluated with the actual product.
Check whether the insert:
Holds the product securely
Prevents unnecessary movement
Looks visually balanced
Can be removed when required
Fits the box correctly
Maintains its position during handling
For perfume packaging, bottle necks, shoulders and bases may require specific support.
Rigid packaging should be examined closely at the corners.
Look for:
Exposed board
Wrinkles
Uneven wrapping
Poorly folded paper
Gaps
Misalignment
Excess adhesive
These areas often reveal manufacturing quality more clearly than the center of the box.
Premium packaging is often designed around presentation.
Open the package as a customer would.
Ask:
Does it open naturally?
Does the lid feel stable?
Is the product revealed correctly?
Does the insert create the intended presentation?
Does the package feel appropriate for the brand?
This subjective assessment is important because packaging is part of the customer experience.
Create a prototype approval checklist.
For example:
| Category | Requirement | Prototype | Status |
|---|---|---|---|
| Dimensions | Approved size | Measured size | Pass/Revise |
| Structure | Approved design | Physical check | Pass/Revise |
| Material | Approved board | Actual material | Pass/Revise |
| Color | Approved reference | Visual comparison | Pass/Revise |
| Printing | Approved artwork | Physical check | Pass/Revise |
| Finishing | Required effects | Physical check | Pass/Revise |
| Insert | Product fit | Actual product | Pass/Revise |
| Closure | Required function | Test | Pass/Revise |
| Assembly | Approved construction | Physical check | Pass/Revise |
This is much more reliable than sending a simple message saying "sample approved."
If changes are required, document them clearly.
For example:
Increase insert depth by 2 mm.
Move logo 3 mm upward.
Reduce magnet strength.
Change paper texture.
Adjust foil position.
Increase internal clearance.
The supplier should confirm that the changes are understood.
A revised prototype should be produced when the change could materially affect the final product.
Packaging projects can easily accumulate multiple samples.
Use version control such as:
Prototype V1 → Revision V2 → Final Approved V3
Keep photographs and specifications associated with the approved version.
The production team should receive the same approved reference.
A prototype approval should clearly state what has been approved.
The approval may cover:
Structure
Dimensions
Material
Artwork
Color
Finishing
Inserts
Function
If something is still pending, identify it.
For example, if the structure is approved but the final paper has not been confirmed, do not treat the entire prototype as fully approved.
Photographs can help communicate prototype details, but they cannot replace physical inspection for many packaging characteristics.
Photos may not accurately communicate:
Surface texture
Material thickness
Magnetic force
Structural rigidity
Product fit
Color under different lighting
Tactile quality
When the project is commercially important, physical approval is preferable.
The final approved prototype should be stored carefully.
It can become a reference for:
Mass production
Quality inspection
Future reorders
Supplier communication
Color comparison
Structural verification
For repeat packaging programs, retaining approved samples can make future quality control much easier.
Before approving a packaging prototype, confirm:
Dimensions are correct.
Product fits correctly.
Structure works correctly.
Materials are correct.
Artwork is correct.
Colors are acceptable.
Finishing is correct.
Inserts are secure.
Magnetic closure works if applicable.
Corners and edges are acceptable.
Assembly is correct.
Packaging meets the intended customer experience.
All required changes have been documented.
Only after these points have been reviewed should the prototype be formally approved for mass production.
A well-controlled prototype approval process creates a clear bridge between design and manufacturing. It reduces ambiguity, gives the supplier a physical reference and allows buyers to identify problems before they become expensive production issues.


Blog Sitemap Xml Datenschutzrichtlinie
Copyright
© 2026 GuangZhou GooinPack Packaging Co., Ltd. Alle Rechte vorbehalten
.  NETZWERK UNTERSTÜTZT
Freundliche Links : Blogger
Eine Nachricht hinterlassen
Scannen zu WhatsApp :